

WANT TO SAVE THIS RECIPE?
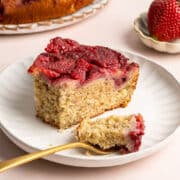
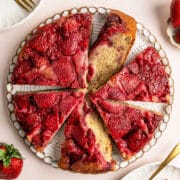
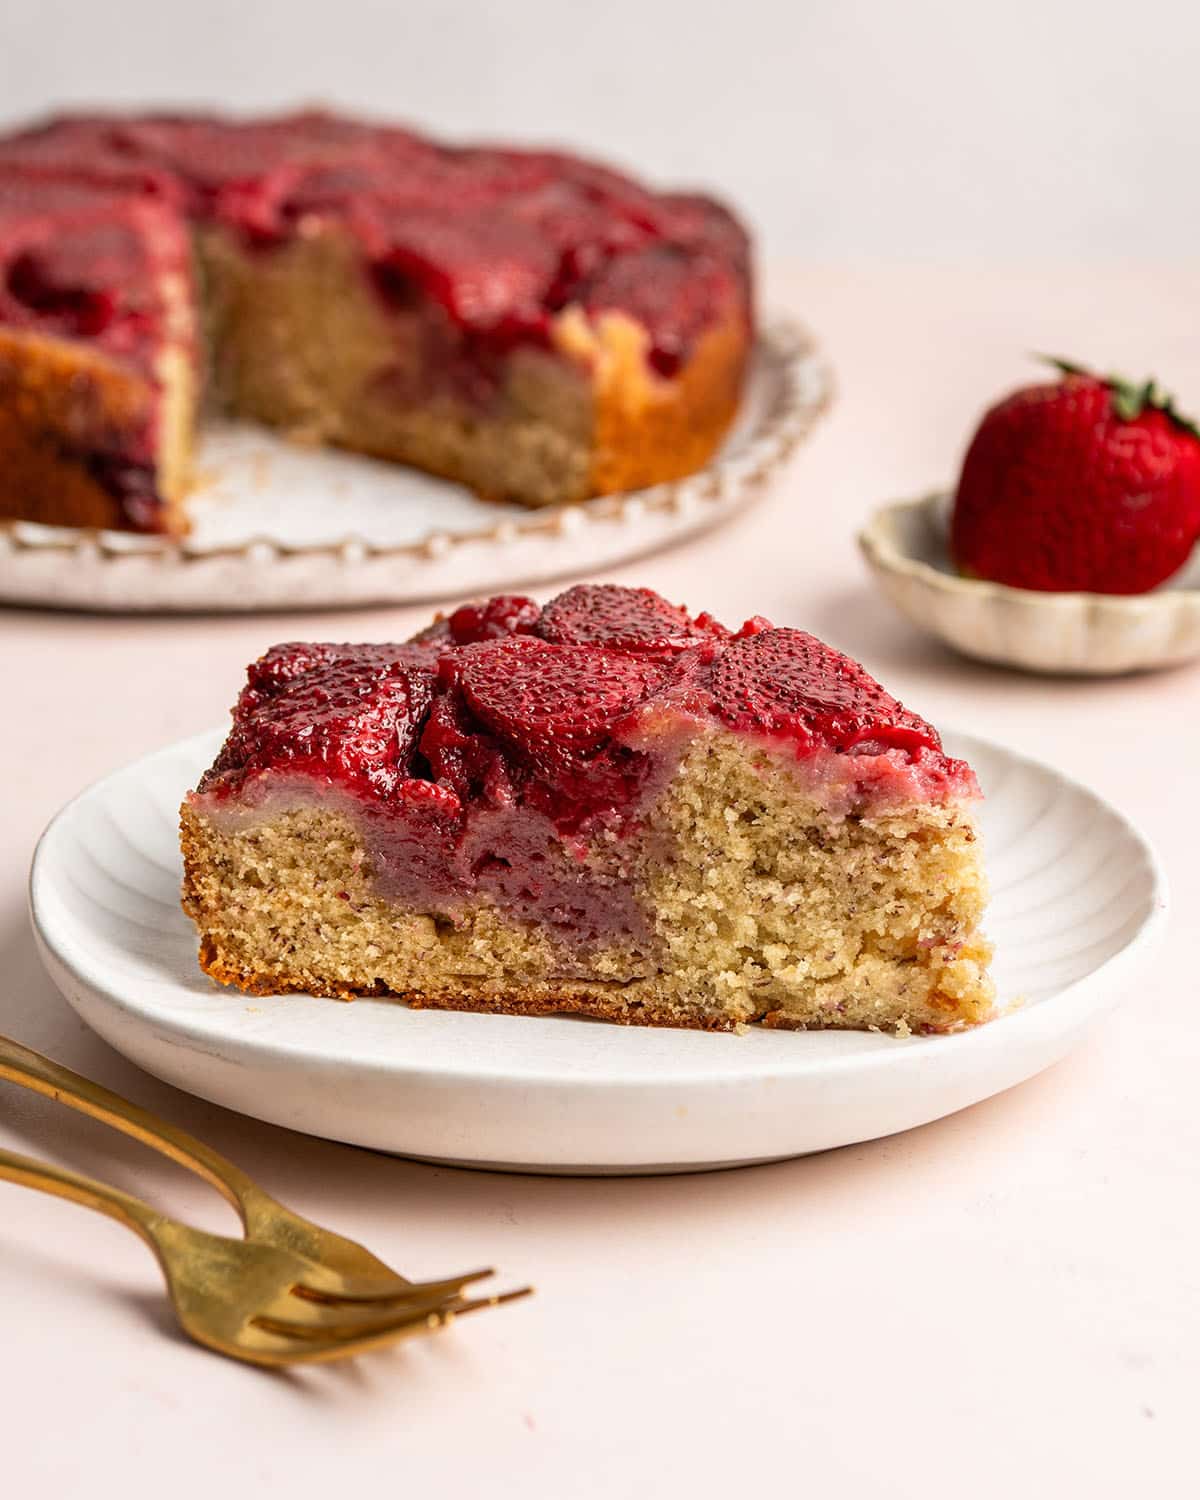
This strawberry upside down banana cake is soft, buttery, and loaded with caramelized strawberries that melt into the top of a tender banana cake. Every bite has that perfect balance of fruity sweetness and warm banana flavor.

Jump to:
What makes this dish special
Banana bread is one of my all-time favorite sweet breads. Whenever I have very ripe bananas sitting around, I immediately make my black sesame banana cake, cinnamon streusel banana coffee cake, or caramelized banana muffins. This time, I wanted something a little different.
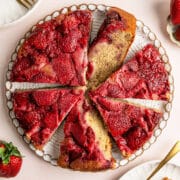
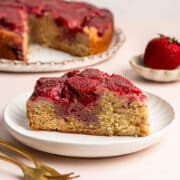
Since strawberries are coming into season, I decided to make a strawberry upside down banana cake. Strawberries and bananas are such a classic pairing that the result was pretty much guaranteed to be good, and I was right about that! The caramelized strawberry layer adds a gorgeous pop of color and a jammy sweetness that takes this banana cake to the next level.
Recipe
Strawberry Upside Down Banana Cake
Ingredients
Strawberries
- 2 tablespoons melted butter (28 grams)
- ¼ cup granulated sugar (50 grams)
- 1 pound strawberries stems removed, halved
Banana cake
- 2 cups all-purpose flour (250 grams)
- 1 teaspoon baking powder
- ½ teaspoon baking soda
- ¼ teaspoon salt
- ½ cup softened butter, at room temperature (113 grams)
- 1 ¼ cups granulated sugar (250 grams)
- 2 large eggs, at room temperature
- ¾ cup mashed banana (184 grams)
- 1 teaspoon vanilla extract
- ⅓ cup buttermilk (83 ml)
Instructions
- Preheat oven to 350 degrees. Grease a 9-inch round cake pan.
- Combine 2 tablespoons melted butter with ¼ cup granulated sugar. Spread mixture into prepared cake pan. Arrange halved strawberries on top, making sure to cover the entire pan.
- Prepare the cake. Combine flour, baking powder, baking soda, and salt in a medium bowl. Set aside.
- In the bowl of a stand mixer, combine softened butter and sugar. Beat until creamy, about 3-4 minutes. Add eggs one at a time, mixing well. Add mashed banana and vanilla, mixing until well combined.
- Add half of the flour mixture, followed by the buttermilk, stirring until combined. Add remaining flour mixture, stirring just until combined. Pour cake batter on top of strawberries in cake pan, spreading batter into an even layer.
- Bake cake for 45-50 minutes or until a toothpick inserted in the center comes out clean. Remove from the oven and let sit for 15 minutes. Place a plate on the pan and carefully flip the pan over to invert the cake onto the plate. Let cool completely and serve.
Video
Notes
Step-by-step instructions
Step 1: Prepare strawberries
Start by greasing a 9-inch round cake pan and preheating your oven to 350°F. You can also use a 9-inch square cake pan, if you prefer.
To make the strawberry layer, combine melted butter and granulated sugar, then spread the mixture evenly across the bottom of the pan.
Arrange the halved strawberries cut side down on top, making sure to cover the entire surface of the pan. You want them packed in nice and snug because this layer becomes the beautiful top of the cake once it's flipped.
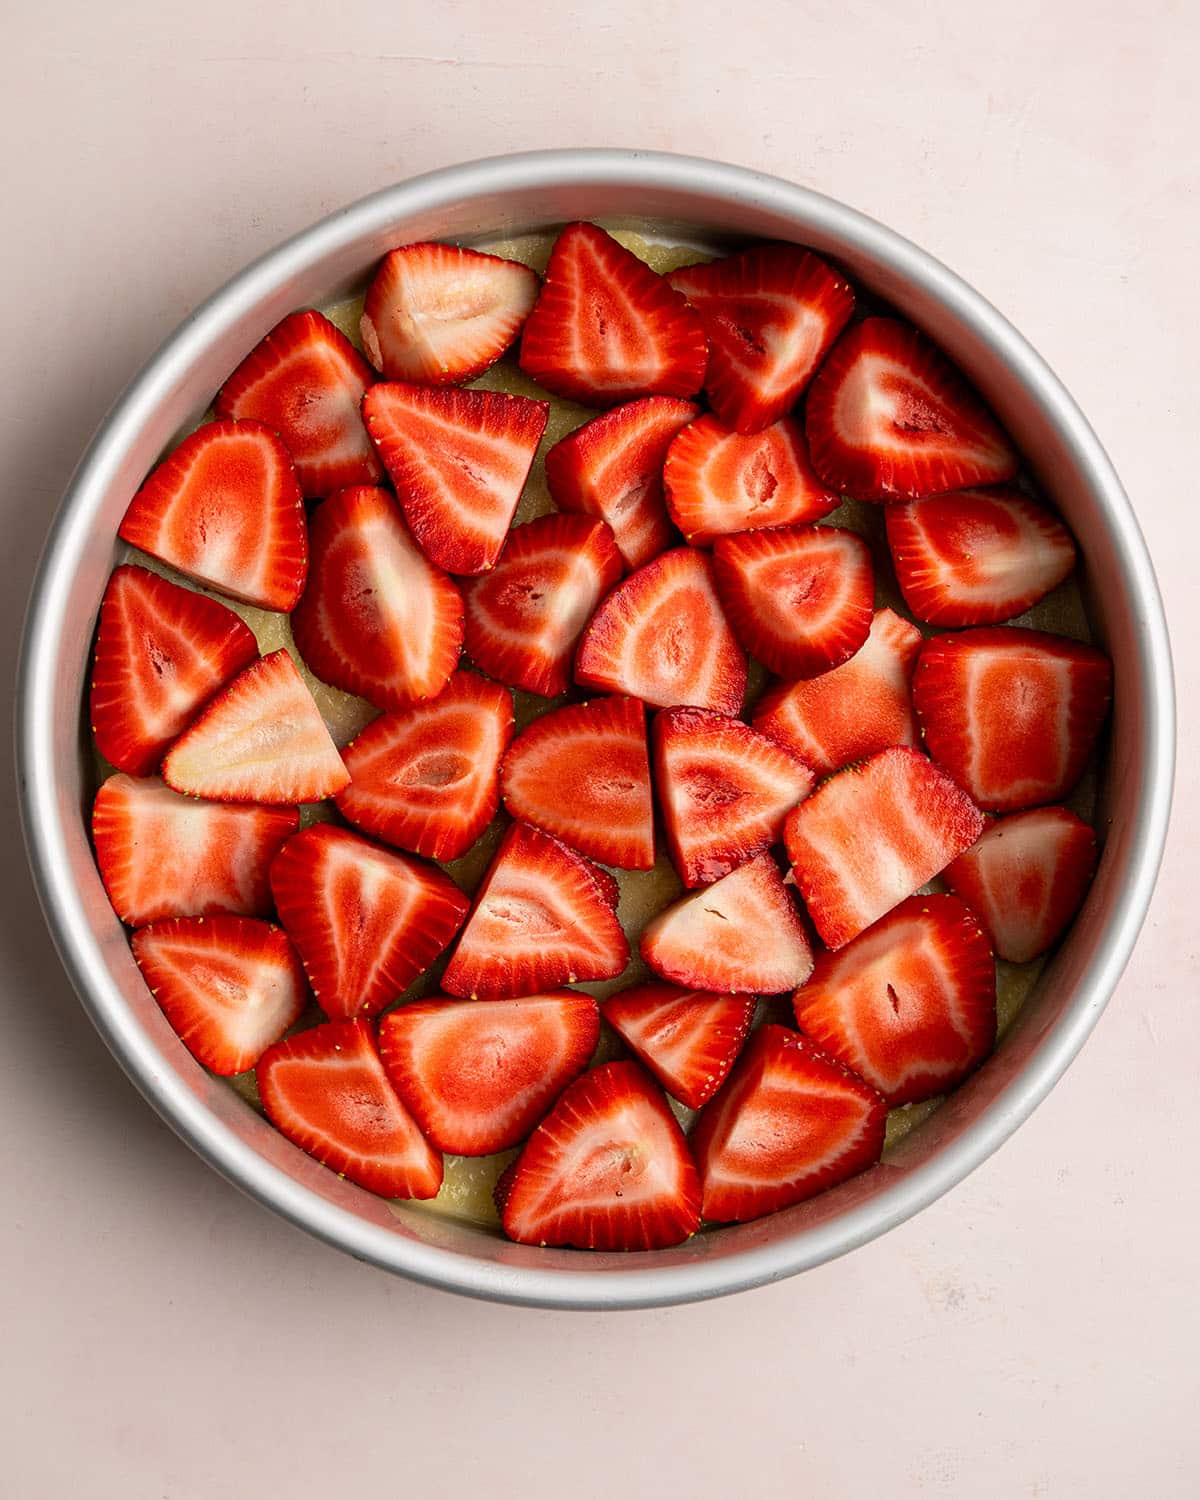
I don't recommend using frozen berries because they have too much moisture, which would water down the caramel.
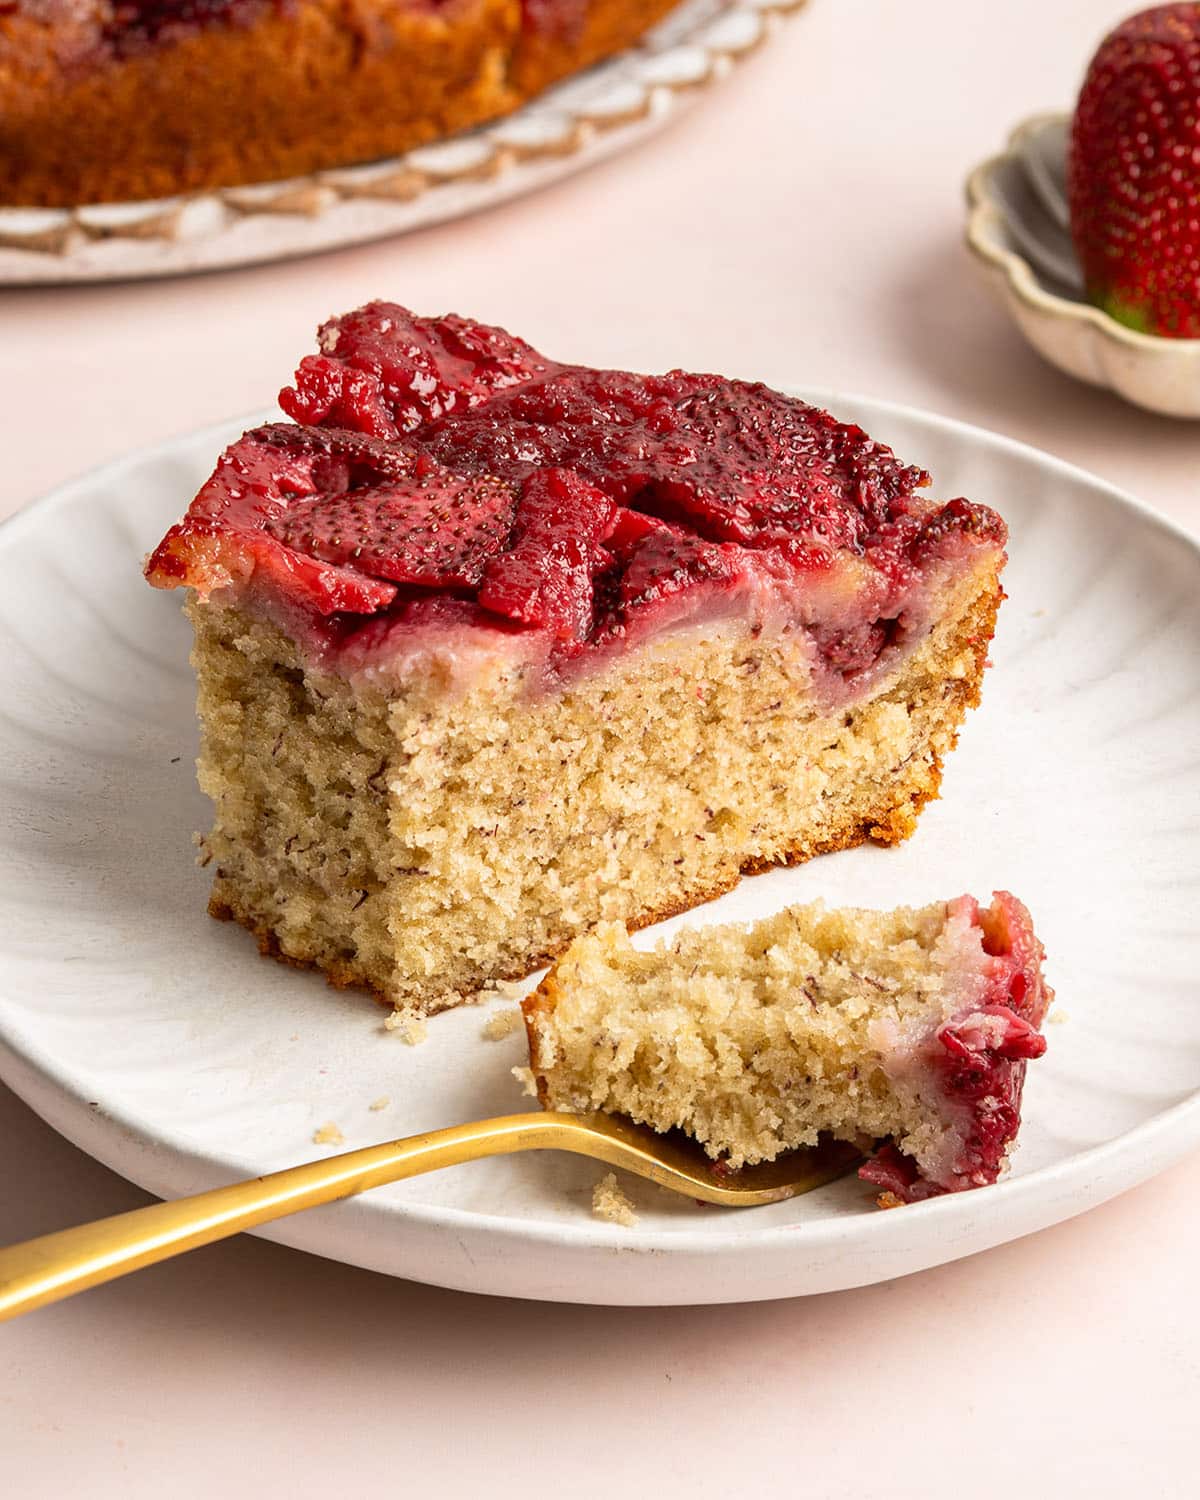
The butter and sugar will caramelize around the strawberries as the cake bakes, creating an almost jammy topping.
Step 2: Make cake batter
For the cake itself, whisk together the flour, baking powder, baking soda, and salt in a medium bowl and set it aside.
In the bowl of a stand mixer, beat the softened butter and sugar together until light and creamy, about 3 to 4 minutes. You can also use a hand mixer.
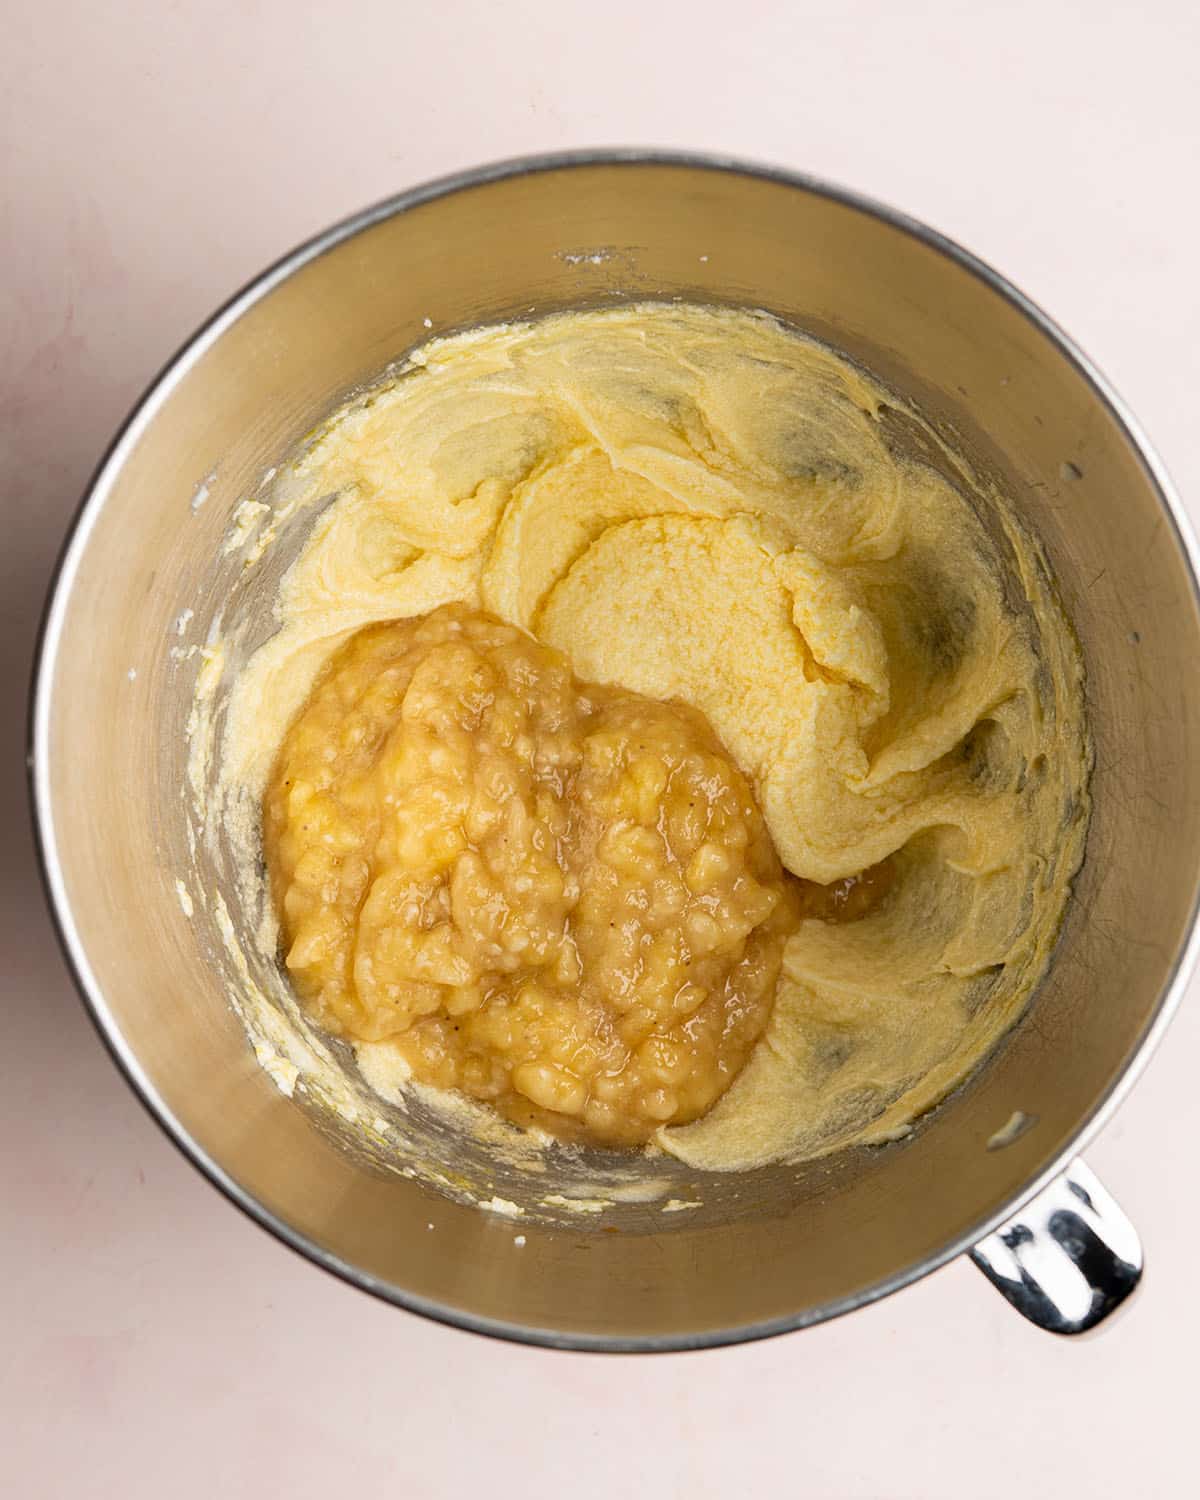
Add the eggs one at a time, mixing well after each addition. Then add the mashed banana and vanilla, mixing until everything is well combined.
You want very ripe bananas for this cake, the ones with lots of brown spots all over the peel. The riper the banana, the sweeter and more intense the banana flavor will be.
Recipe tip
Here's a handy tip I learned from working as a chef at a catering company: if your bananas aren't ripe enough yet, bake them in the oven at 300°F for about 15 to 20 minutes until the peels turn black. They won't develop quite as much complex sweetness as naturally ripened bananas, but it's a solid shortcut when you don't want to wait a few days.
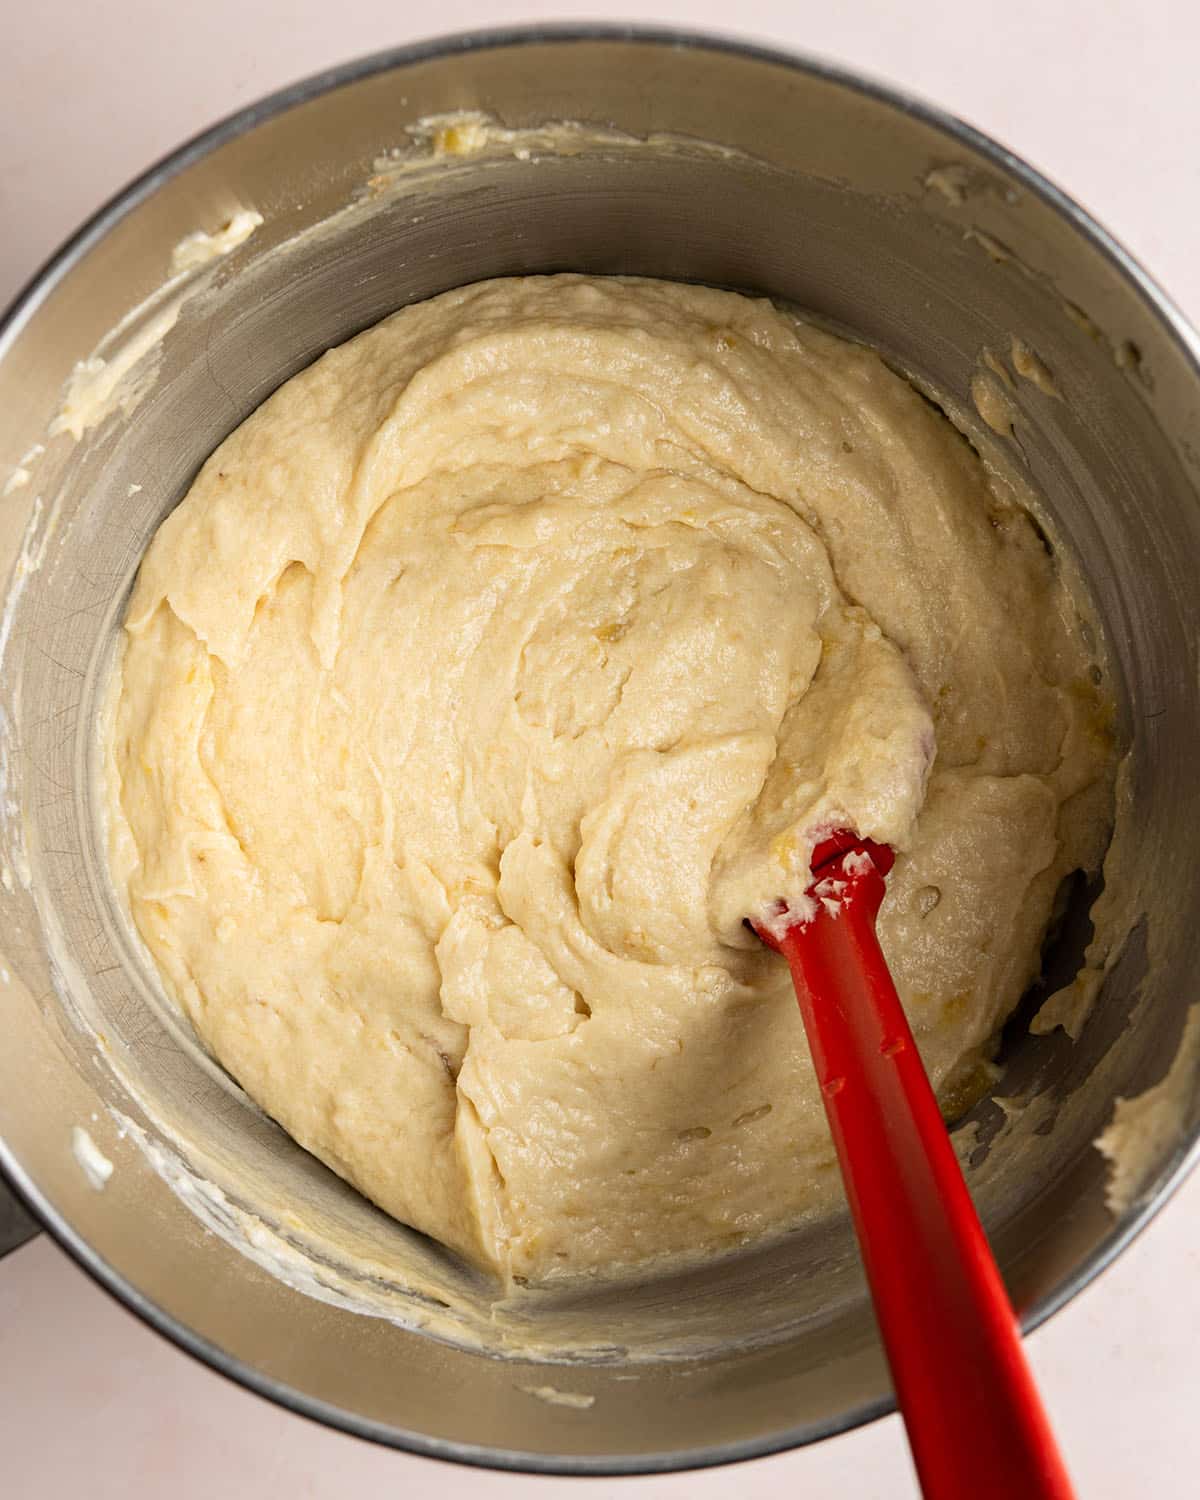
From here, add half of the flour mixture first, followed by the buttermilk, and stir until just combined. Add the remaining flour mixture and stir again until just combined.
Be careful not to overmix at this stage because that's how you end up with a tough, dense cake.
Pour the batter over the strawberries and spread it into an even layer.
Step 3: Bake
Bake the strawberry upside down banana cake for 45 to 50 minutes, or until a toothpick inserted in the center comes out clean.
Once you pull the cake out of the oven, let it sit in the pan for about 15 minutes before inverting. This resting time allows the caramelized sugar to cool just enough to set slightly. That way, when you flip the cake, the strawberries stay in place rather than sliding off.
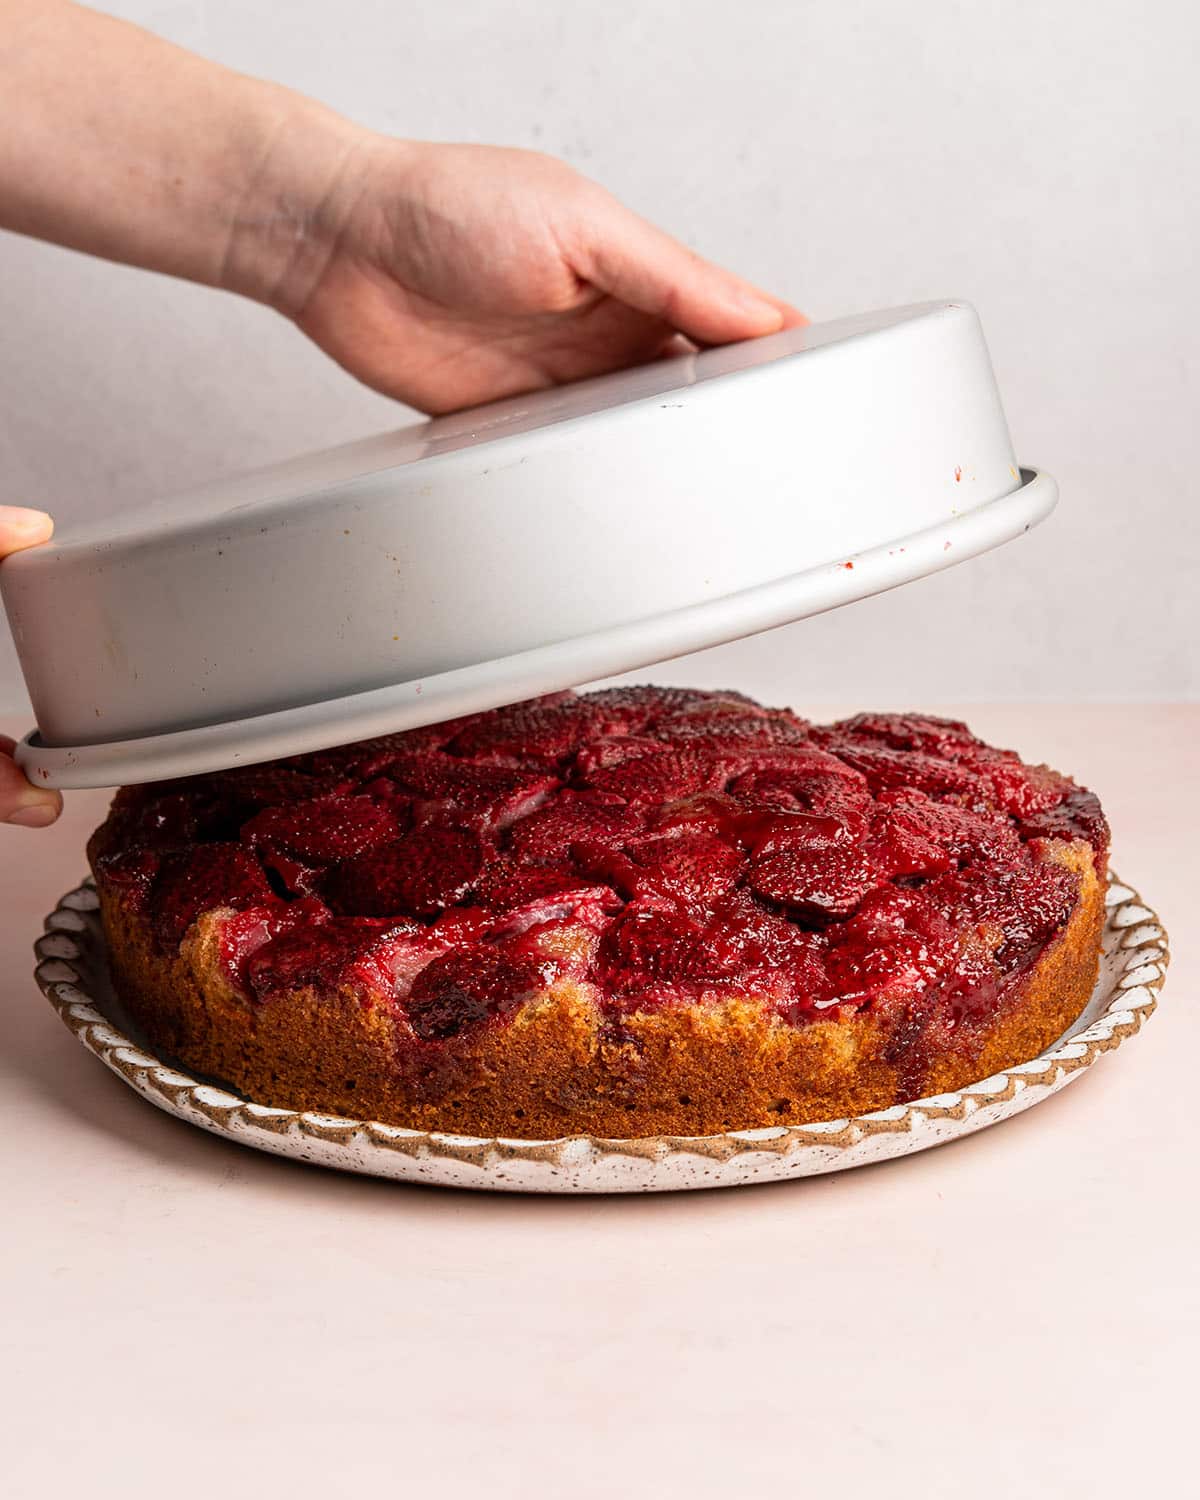
However, you don't want to let the cake cool completely in the pan. If you wait too long, the sugar will harden and basically glue the cake to the pan, making it nearly impossible to release cleanly.
After 15 minutes, place a plate or serving platter on top of the pan and carefully flip the whole thing over in one confident motion. Give it a moment, then gently lift the pan away. Let the cake cool completely before slicing and serving.
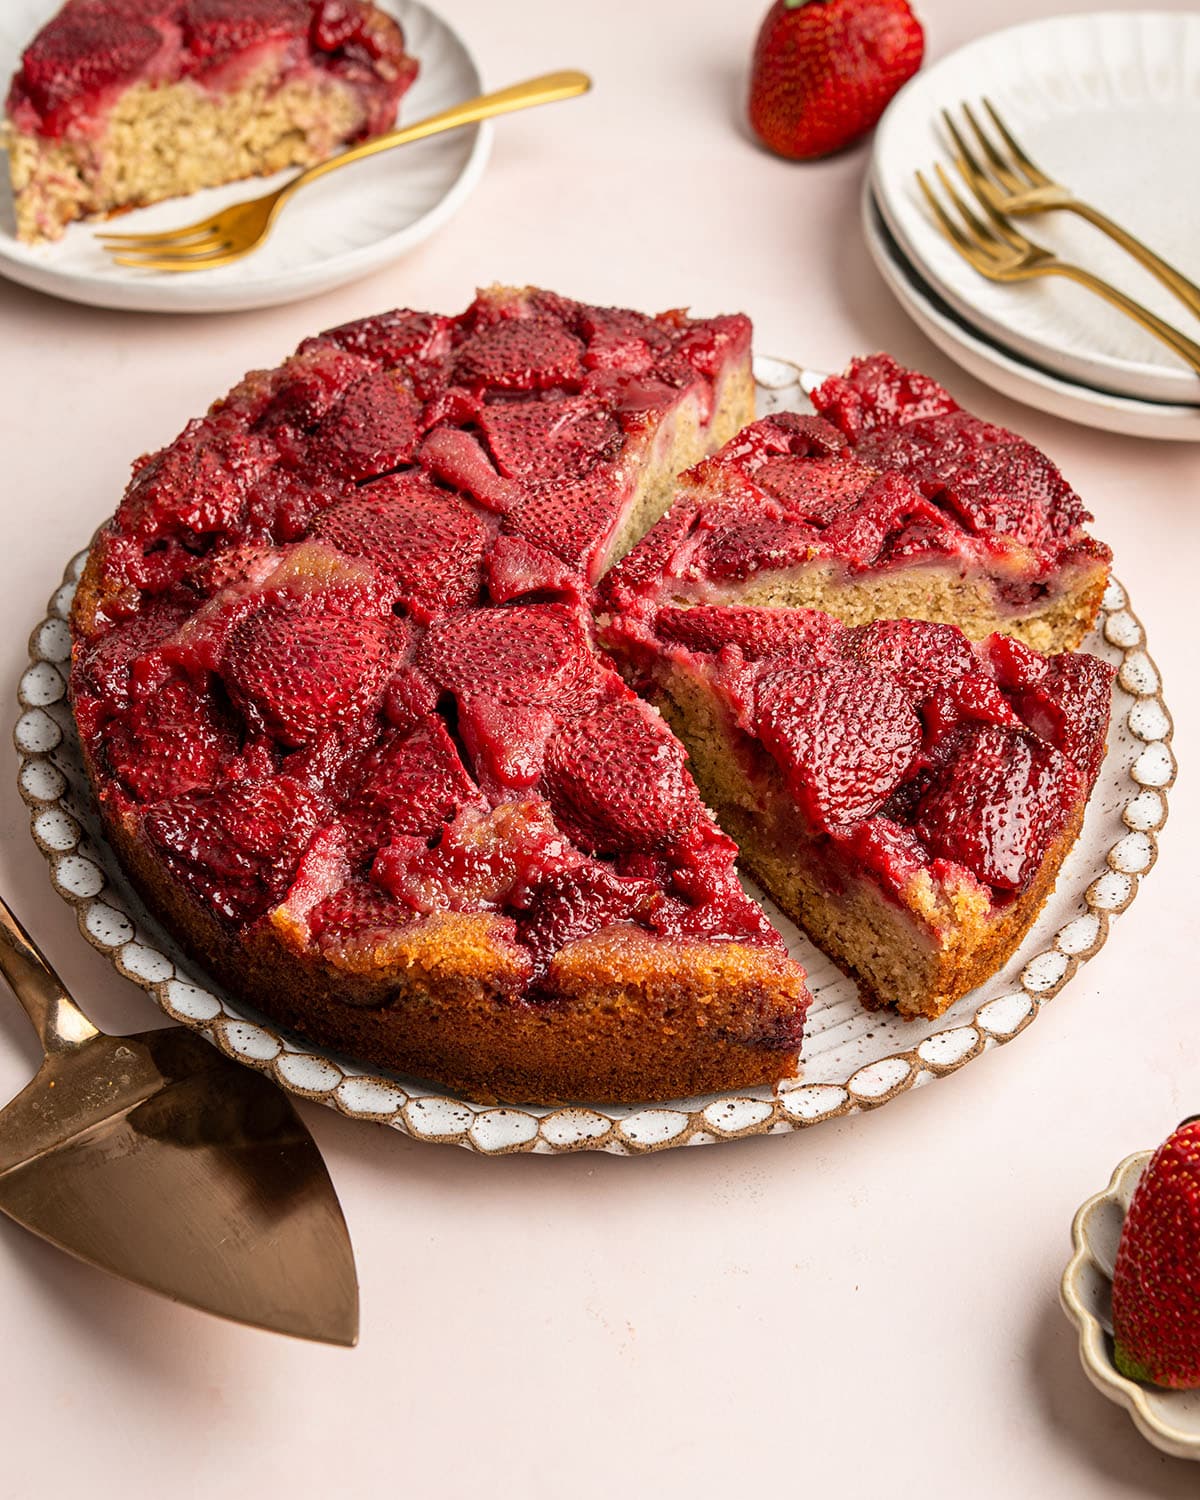
The result is absolutely delicious. The strawberry upside down banana cake is incredibly moist with just the right amount of banana flavor. Meanwhile, the caramelized strawberries are juicy with intensified sweetness that makes every bite better than the last. The combination of flavors here is truly unbeatable.
Make-ahead and storage tips
- Make-ahead: You can bake the cake the day before serving. I don't recommend assembling the cake and letting it sit overnight before baking.
- Store: Keep the cake in an airtight container at room temperature for up to 3 days.
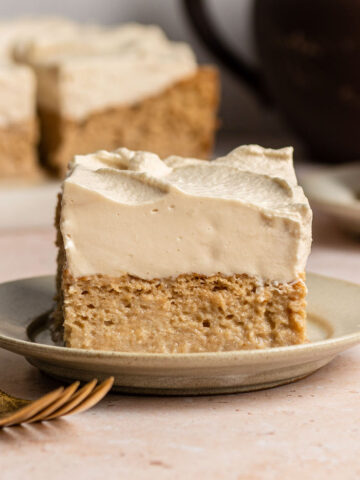
More strawberry dessert recipes
Looking for more strawberry dessert ideas? Try these:


Work with me
All images shot and styled by Christine Ma. Available for food photography, styling, and recipe development.


Leave a Reply